Introduction to MGO Board
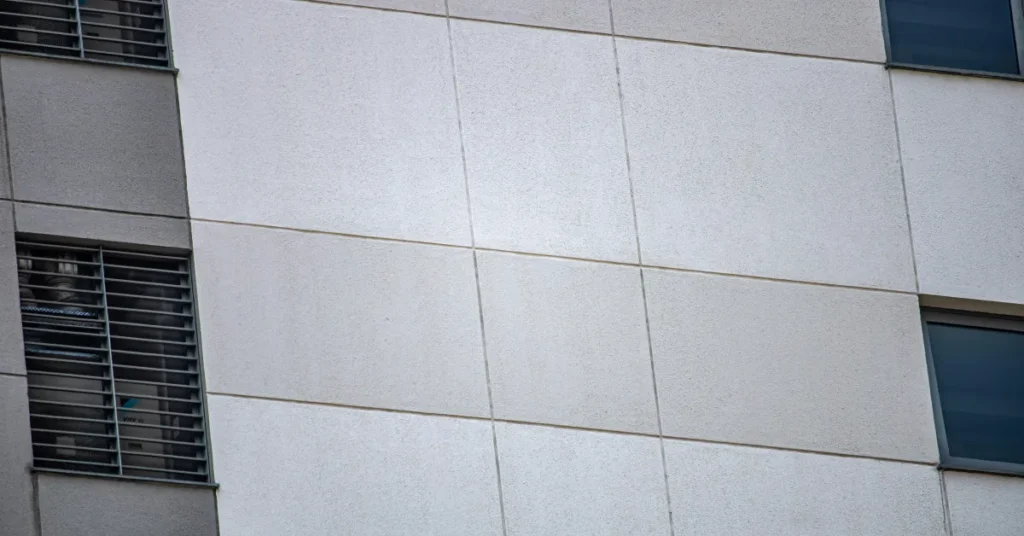
Magnesium Oxide (MGO) board is an innovative building material that has gained popularity in the construction industry due to its unique properties and numerous advantages. Composed primarily of magnesium oxide, this board has a lightweight yet durable characteristic, which makes it suitable for various applications, especially in exterior wall finishes. One of the most significant benefits of MGO board is its impressive moisture resistance. This property is crucial for exterior applications where exposure to weather elements is inevitable, helping to prevent issues such as mold growth and structural damage.
In addition to moisture resistance, MGO board is particularly noted for its exceptional fire resistance. Unlike traditional building materials that may contribute to the spread of flames, MGO board does not ignite easily and can provide valuable time in the event of a fire, enhancing overall safety for residents and structures alike. The durability of MGO board also stands out; it is designed to withstand various environmental conditions, ensuring a longer lifespan compared to conventional materials.
Commonly employed in exterior applications, MGO board serves as sheathing for walls, roof underlayment, and even as a substrate for tile installations. Its versatility does not end there, as it can be finished with plaster, paint, or siding to achieve the desired aesthetic while ensuring robust protection against the elements. As homeowners and builders increasingly seek efficient materials that offer superior performance without compromising safety, MGO board serves as a preferred choice in sustainable construction practices.
Understanding how to install MGO board effectively can further enhance its advantages, leading to a significant improvement in the quality and performance of exterior wall systems. As we delve deeper into the installation process, the numerous benefits of this material will become increasingly evident, making it a valuable addition to modern construction methodologies.
Tools and Materials Needed
When embarking on the task of how to install MGO board on exterior walls, having the right tools and materials is essential for a successful installation. Below is a list of necessary items to ensure a smooth process.
First, consider the types of MGO board you will need. These boards come in various sizes and thicknesses, so select the ones appropriate for your project. It is advisable to purchase high-quality MGO boards to ensure durability and performance. You can find suitable options at local building supply stores or online specialty retailers.
Next, you will need fasteners. Stainless steel screws are often recommended because they resist corrosion, especially when exposed to moisture. Depending on the thickness of your MGO boards, you may also require specific lengths of screws. Additionally, fastener washers can help distribute the load and prevent damage to the board.
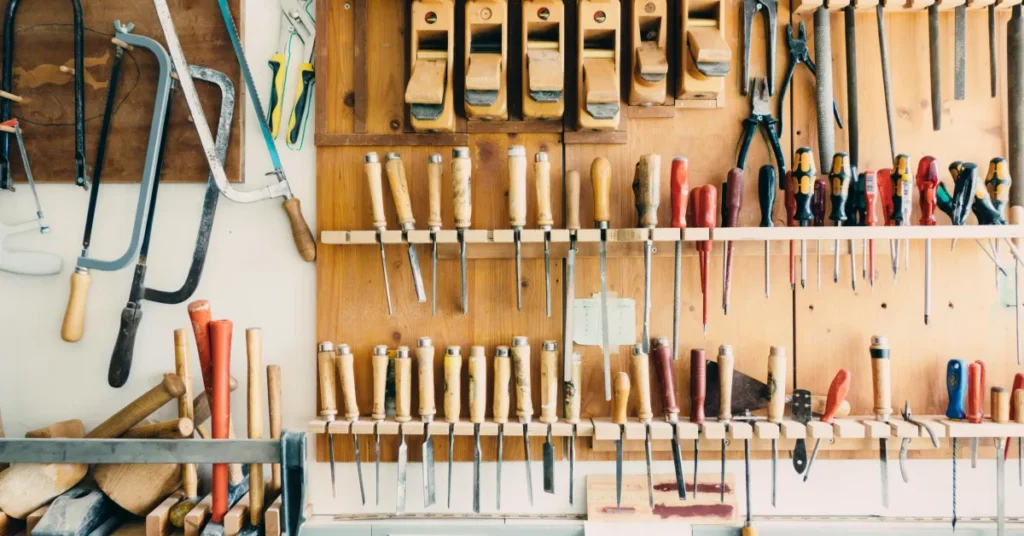
For cutting the boards to size, a circular saw or a hand saw designed for cement board will be extremely helpful. To achieve clean cuts without chipping, consider using a high-quality carbide-tipped blade. Always ensure you have measuring tools, such as a tape measure and square, to help you make precise measurements.
Adhesives are also a critical component in the installation process. Use a quality construction adhesive that is compatible with MGO boards. It is important to check whether the adhesive is suitable for exterior applications to ensure the longevity of your installation.
Don’t forget to acquire personal protective equipment, including safety goggles, gloves, and a dust mask. These items will protect you from dust and debris during cutting and installation. Protective gear is vital when handling MGO boards, as they can create dust that may not be safe to breathe in.
By gathering these tools and materials beforehand, you will be well-prepared to efficiently learn how to install MGO board, leading to a successful exterior wall project.
Preparing the Installation Site
Proper preparation of the installation site is crucial for ensuring the successful application of MGO board on exterior walls. The first step in this process involves assessing the existing wall condition. It is vital to examine the integrity of the wall underlying the MGO board. Look for any signs of damage, such as cracks or deteriorated materials, which must be addressed prior to installation. This ensures that the MGO board will be affixed to a structurally sound surface, minimizing the likelihood of complications over time.
Once an assessment has been completed, the next step is to clean the surface thoroughly. This entails removing any dirt, debris, and previous coatings that may hinder the adhesion of the MGO board. Utilization of appropriate cleaning solutions and tools will help achieve a clean surface. It is essential to create a suitable bonding area for the MGO board to ensure its longevity and effectiveness in providing insulation and protection from the elements.
Furthermore, checking for moisture issues is an integral part of site preparation. Excess moisture can adversely affect the performance of MGO board. Therefore, it is advisable to conduct a moisture test on the wall surface. Should moisture levels exceed acceptable thresholds, remedial actions must be taken to address the underlying issues. This may include applying a moisture barrier or allowing ample time for the wall to dry before proceeding with the installation.
Lastly, inspect the wall framing to verify that it is robust enough to support the MGO board. Ensuring that the framing is level and adequately secured will provide a stable and reliable structure for the installation. In conclusion, meticulous preparation of the installation site is essential for achieving the desired results when learning how to install MGO board effectively.
Measuring and Cutting MGO Boards
When embarking on the project of how to install MGO board on your exterior walls, the first crucial step involves precise measurement and cutting of the boards to fit your specific wall dimensions. Accurate measurement ensures a seamless installation that looks professional and meets structural requirements. Begin by assessing the height and width of your wall, taking into account any openings for windows or doors that will influence the size of the MGO boards needed.
Once measurements are taken, it is advisable to create a sketch or layout that outlines where each board will be placed. This can help visualize the overall process and minimize waste. For cutting MGO boards, the right tools play a significant role in achieving clean, precise cuts. A high-quality utility knife or circular saw with a fine-tooth blade specifically designed for cutting fiber cement boards will be most effective. It is important to score the surface with the utility knife first before snapping the board along the cut line. This technique allows for cleaner edges and prevents chipping.
Additionally, it is imperative to prioritize safety when handling MGO boards. Always wear appropriate personal protective equipment, such as gloves and safety goggles, to protect against dust and sharp edges while cutting. Ensure your work area is well-ventilated, especially if working indoors. By taking proper measurements and employing the right cutting techniques, you can easily prepare the MGO boards for installation and ensure they fit snugly onto your exterior walls, providing a durable and aesthetically pleasing finish.
Installing the MGO Boards
Installing MGO boards on exterior walls requires careful planning and execution to ensure a durable and aesthetically pleasing finish. The first step is to prepare the wall surface by ensuring it is clean, dry, and free of any debris. It is also essential to check for any irregularities and rectify them, as this will impact the alignment of the MGO boards. Once the surface is ready, gather all necessary materials including MGO boards, fasteners, adhesives, and tools.
To begin the actual installation, start by measuring the wall and cutting the MGO boards to fit the specific dimensions. It is advisable to use a circular saw with a diamond blade for clean cuts. After cutting, lay out the boards on the ground in the desired configuration to visualize how they will be placed on the wall. This step will help ensure proper alignment when securing the boards.
When it comes to securing the boards, there are two primary methods to consider: fasteners and adhesives. Fasteners such as screws or nails should be distributed evenly across the board to prevent movement. Typically, it is recommended to place fasteners every 12 inches along the perimeter and every 16 inches in the field. For added strength, countersink the fasteners allowing for a smooth installation finish.
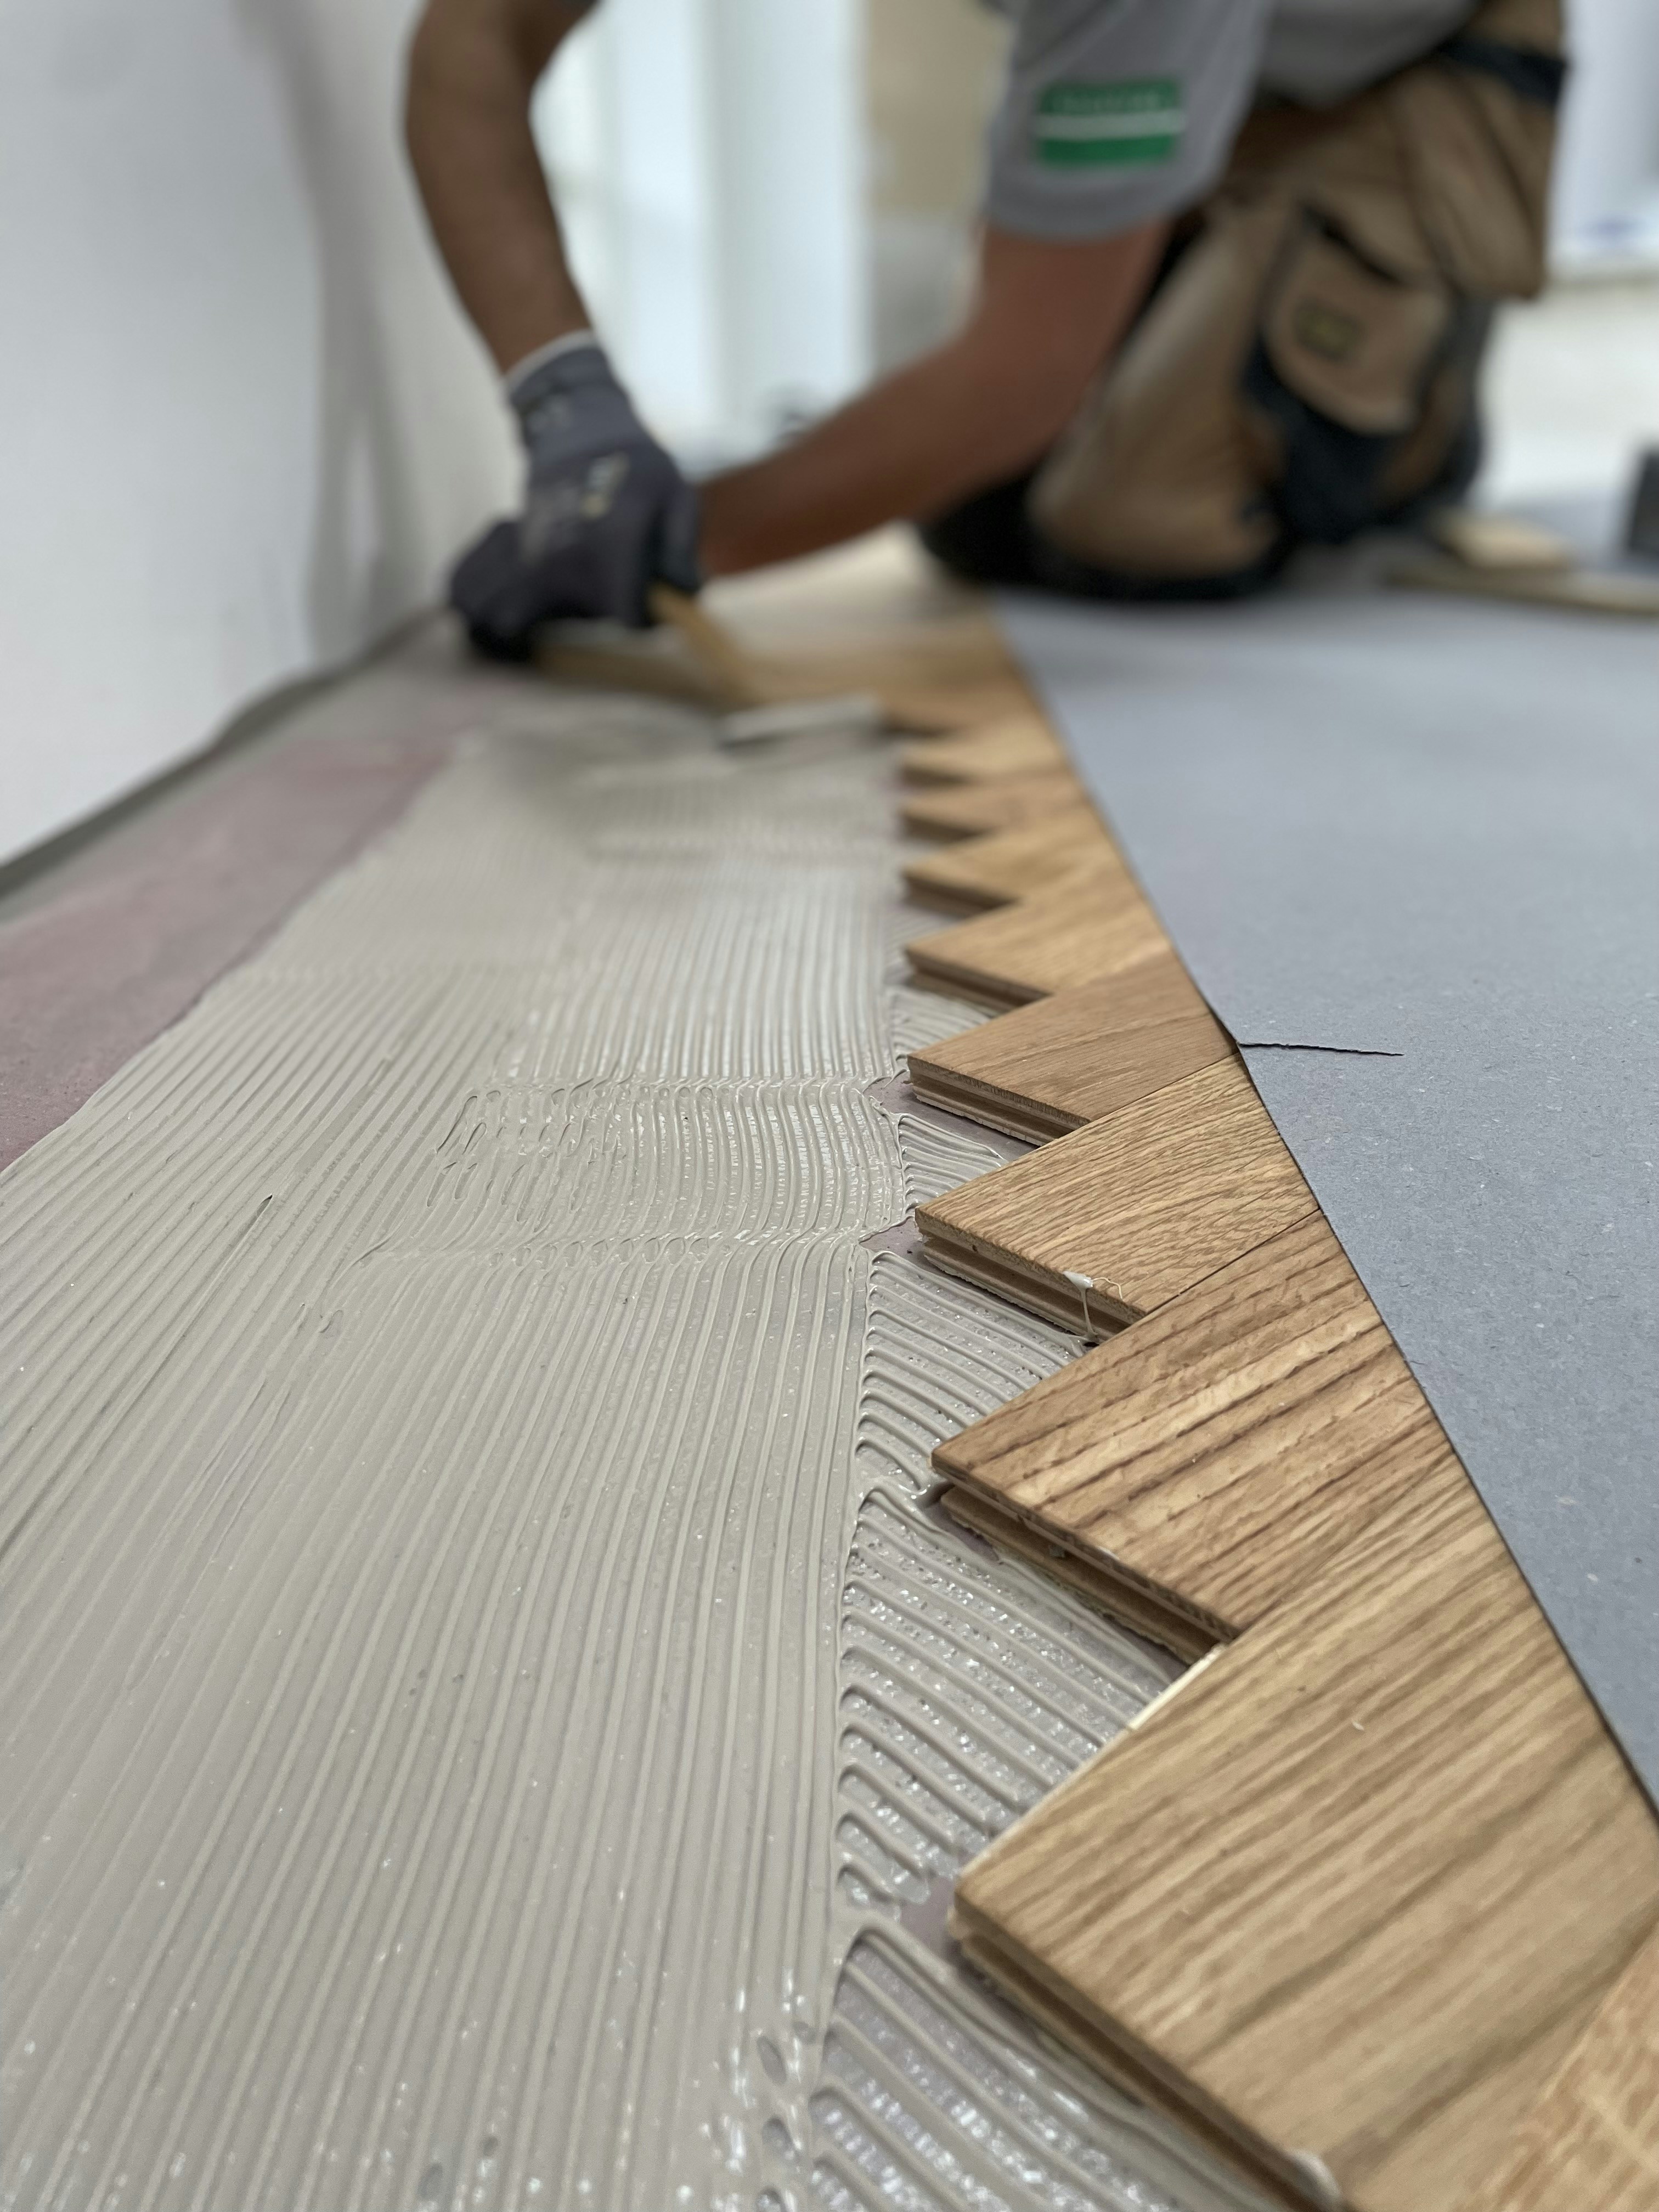
Adhesives can also be used in conjunction with fasteners to enhance the bond between the MGO boards and the wall. A high-quality construction adhesive specifically designed for MGO boards is recommended. Apply the adhesive to the back of the board, ensuring it is evenly spread before pressing it against the wall.
Proper spacing is crucial for a visually appealing result. It is recommended to leave a small gap of approximately 1/8 inch between boards to allow for expansion and contraction due to temperature changes. Align the MGO boards in a systematic manner, stepping back periodically to assess the overall alignment and appearance. This meticulous approach will aid significantly in achieving a professional-quality installation.

Sealing and Waterproofing
To ensure the durability and performance of MGO boards once they are installed on exterior walls, it is crucial to implement effective sealing and waterproofing measures. This process not only protects against moisture infiltration but also enhances the longevity of the boards. Start by selecting the appropriate sealant; there are various options available, including acrylic, silicone, and polyurethane sealants. Each type has distinct properties suitable for different environmental conditions. Acrylic sealants offer good flexibility and adhesion, while silicone is recognized for its excellent waterproofing capabilities. Polyurethane is another excellent choice due to its robust bonding strength and durability.
Before applying any sealant, it is essential to prepare the surface of the MGO boards thoroughly. Make sure that the boards are clean and free from dust, debris, or any contaminants. A clean surface ensures optimal adhesion of the sealant. Use a primer if recommended by the sealant manufacturer, as this can significantly improve the bond and enhance waterproofing efficacy.
When applying the sealant, follow the manufacturer’s instructions carefully. For best results, use a caulking gun to ensure even application. Begin at the seams and joints of the MGO boards, as these are the most vulnerable points for moisture penetration. Work systematically, applying a continuous bead of sealant to cover all potential failure points effectively. After sealing the joints, consider applying a waterproofing treatment over the entire surface of the MGO boards. This can involve the use of liquid waterproof membranes that create a complete barrier against water exposure.
Once applied, allow the sealant or waterproofing treatment to cure as per the manufacturer’s guidelines. This step is critical to achieving optimal protection. Regular inspections and maintenance of the sealant will also be necessary to ensure that the MGO boards continue to perform well over time. In conclusion, employing appropriate sealing and waterproofing techniques is essential for the effective installation of MGO boards on exterior walls, significantly contributing to their durability and resistance against environmental factors.
Finishing Touches
Once the MGO board installation is complete, the next step is to focus on the aesthetic aspects of the project. Proper finishing touches can elevate the overall appearance and ensure that the MGO boards complement the exterior design of the structure. There are several options available, such as painting, texturing, or adding trim, that can enhance the visual appeal of your installation.
When considering how to install MGO board with a polished look, painting is one of the most effective methods. A high-quality exterior paint can not only protect your boards from potential weather damage but also allow for creative expression. Choose colors that align with the overall color scheme of your home or building. It is advisable to use paint that is specifically formulated for use on cement-based materials, ensuring excellent adhesion and durability. A thorough primer layer will also help achieve an even finish and improve the longevity of the paint job.
In addition to painting, texturing the MGO boards can add a unique and visually engaging element to the installation. Various texture options can be implemented depending on the desired appearance—such as a smooth, stucco-like finish, or even a patterned effect. It is important to apply the texture evenly, bearing in mind that this can significantly contribute to the final look of the installation.
Adding trim is another excellent choice for finishing touches. Trim can provide a polished look, framing the MGO boards and enhancing their presence on the exterior walls. Options may include corner molding, window casings, or decorative fascia that matches the chosen design elements of the building. The addition of trim not only beautifies the installation but also clarifies delineations between different surfaces, ensuring a cohesive and professional finish.
Maintenance and Care
Maintaining MGO board installations is essential for ensuring their longevity and structural integrity. Regular inspections should be conducted to identify any signs of damage or wear. During these inspections, look for cracks, moisture intrusion, or signs of deterioration in the MGO board. Addressing these issues promptly can prevent further damage and extend the lifespan of the installation.
Cleaning MGO boards is a straightforward process that should be incorporated into routine maintenance. Use a soft brush or cloth along with a mild detergent mixed with water to gently remove dirt and contaminants. It is important to avoid harsh chemicals, as they can damage the board’s surface and impair its protective qualities. Rinse thoroughly with clean water to ensure that all cleaning agents are removed, promoting the durability of the board.
If damage is detected, minor repairs can often be made without significant disruption. Small cracks can be filled with a compatible sealant, ensuring that the integrity of the MGO board is preserved. For more severe damage, it may be necessary to replace sections of the board entirely. When undertaking repairs, ensure that the new pieces are compatible with the existing MGO board, facilitating a seamless integration and maintaining a uniform appearance.
Overall, understanding how to install MGO board correctly is just the beginning. A consistent maintenance schedule combined with thorough inspections and proper cleaning can yield significant benefits. Such practices help to uphold the aesthetic appeal and functional performance of MGO board installations, making them a practical choice for exterior applications. Every step taken in the care of MGO board contributes to its overall effectiveness, ensuring it withstands the test of time and environmental challenges.
Troubleshooting Common Issues
While the installation of MGO board can provide significant benefits for exterior walls, it is not without potential challenges. Understanding and addressing these common issues can ensure a successful application and prolonged performance of the MGO boards.
One of the primary concerns is water damage. MGO boards are known for their moisture resistance; however, improper installation can lead to vulnerabilities. To prevent water infiltration, ensure that all joints are sealed correctly and that the boards are installed with appropriate drainage systems in place. If water damage is detected, identify the source of the leak and replace any damaged boards promptly. Employing a waterproof sealant on the exterior can also enhance protection against moisture.
Mold growth is another issue that can arise when MGO boards are not installed correctly or if they are exposed to prolonged dampness. To combat this, ensure that the installation site is adequately ventilated and that there are no sources of moisture nearby. If mold is present, remedial measures should be taken immediately. Clean the affected areas with a suitable mold remover, and allow the boards to dry completely before reapplying any treatments or sealants.
Improper installation techniques can lead to a host of problems, including gaps between the boards and misalignment. To avoid these pitfalls, it is essential to follow the manufacturer’s guidelines closely when learning how to install MGO board. Double-check all measurements and fastenings during the installation process. If misalignment occurs, carefully remove the affected boards and reset them to achieve the proper alignment.
By being proactive in addressing water damage, mold growth, and installation errors, homeowners can safeguard their MGO boards and maintain the integrity of their exterior walls. Through careful monitoring and adherence to best practices, the longevity and effectiveness of MGO boards can be ensured.
Need more help? Contact us now and get professional help.


